Remote
Radonix Remote Control Setup
The Radonix remote control is a package designed to operate and control the device from up to 15 meters away. Each remote control kit includes a receiver, a cable, and a transmitter. To set up the remote:
- Connect the receiver to the computer via the cable.
- Once connected, the receiver’s LED will light up.
- In the software, open Settings → Remote and configure the following.
Note: Before plugging in the cable, make sure the CDM21XXX USB driver is installed so the receiver is recognized by the computer.
CDM21XXX Driver Installation
If you do not have the CDM21XXX driver, download it here:
Download CDM21XXX
After downloading, double-click the installer and follow the steps shown below:
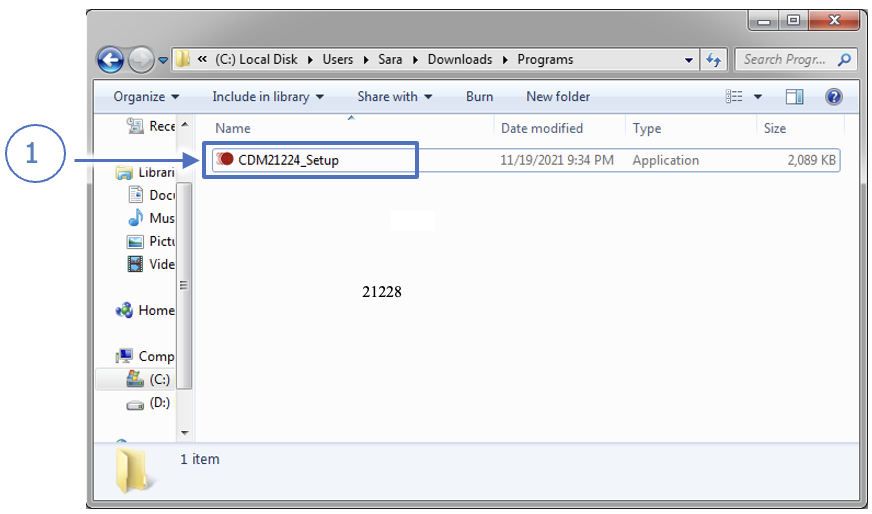
Figure 1
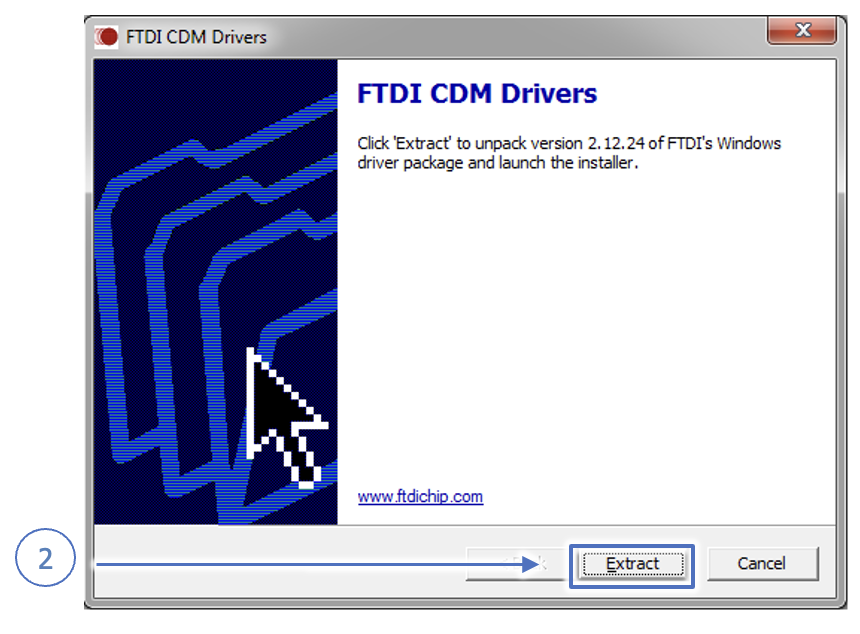
Figure 2
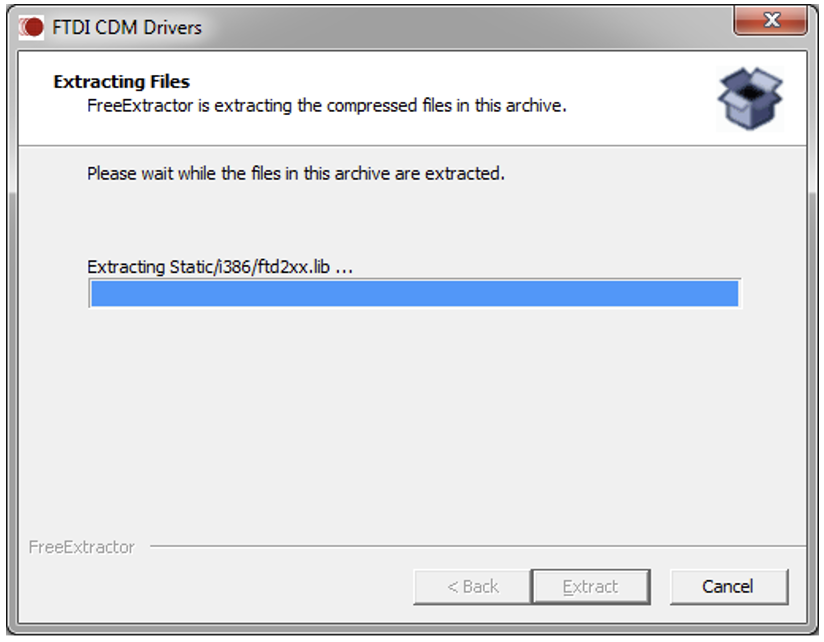
Figure 3
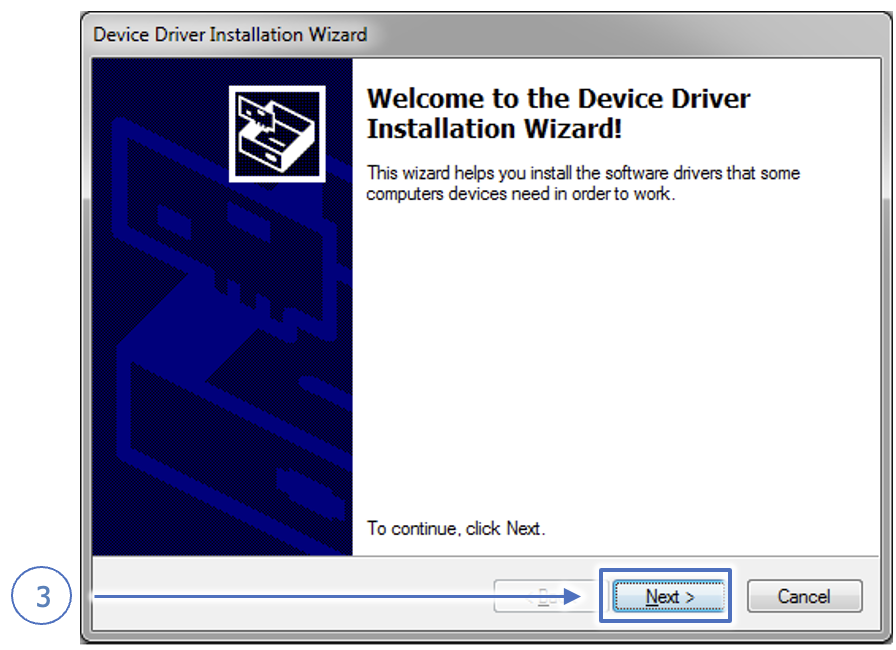
Figure 4
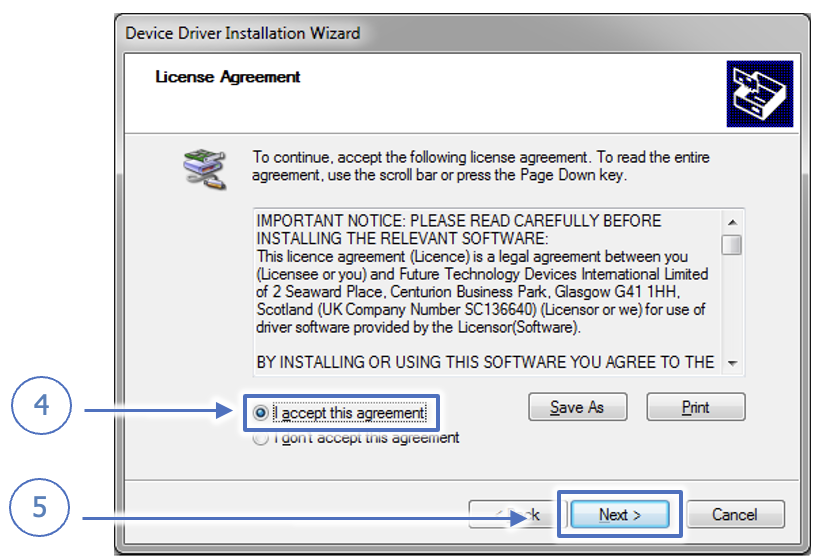
Figure 5
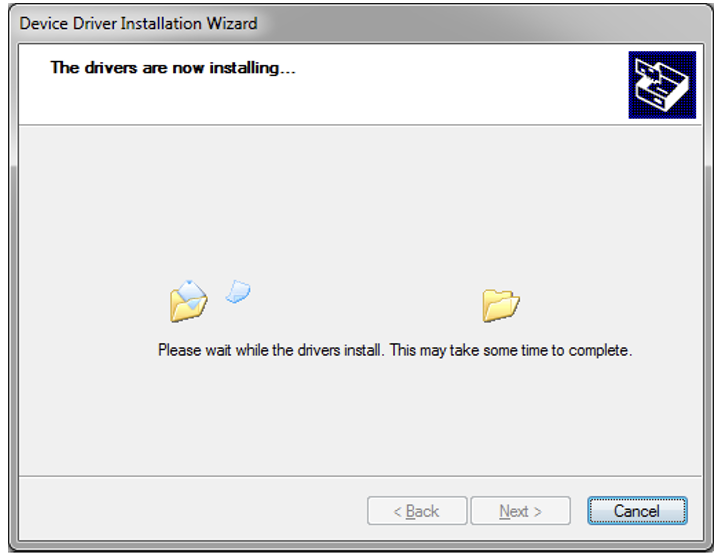
Figure 6
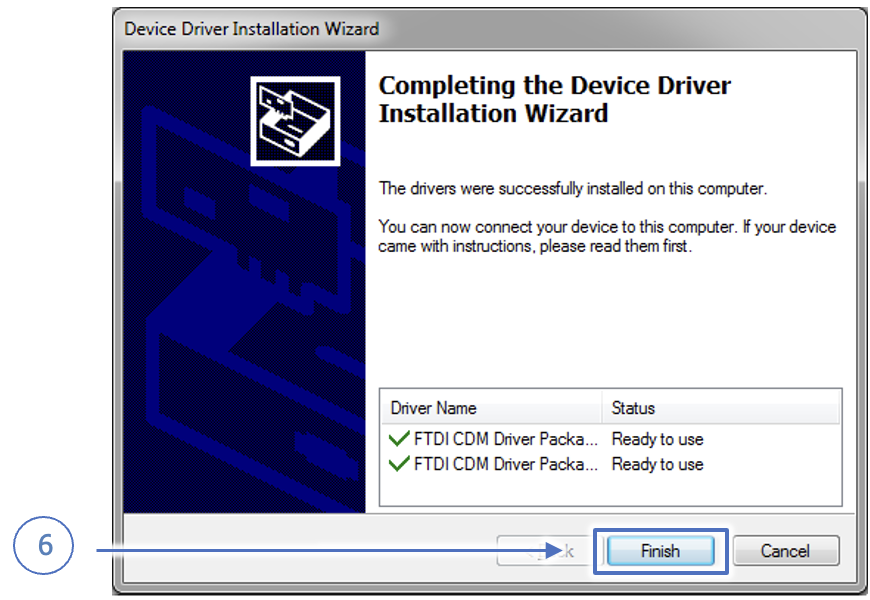
Figure 7
Remote → Channel
Use this variable to set the remote’s channel (1–32).
Changing the Transmitter Channel
On the transmitter, buttons 1–32 correspond to channel numbers. To change:
- Press and hold Reset (RST) and Pause (||) together.
- The red LED will blink rapidly, then remain solid.
- Release both buttons, then press the button whose printed number is your desired channel (e.g. F12 = channel 9).
- Enter that channel number here.
Note: The Reset and Pause buttons are used to enter channel-change mode.
Remote → Descriptor
This variable identifies the remote model (Pro or Plus).
Remote → Enabled
Defines whether the remote is active.
- False: Remote is disabled and ignored.
- True: Remote is enabled.
Remote → Serial
The 5-digit serial number printed on the back of each remote.
Remote → Key[n]
Each of the 32 buttons is accessed via Key[n] where n is 1–32.
Remote → Key[n] → Enabled
- False: That button is disabled.
- True: That button is active.
Remote → Key[n] → Link
Link
- Value ( Link to numeric parameters )
- Analog ( Link to analogs )
- Function ( Link to functions )
- OutPort ( Link to output pins )
- InPort ( Link to input pins )